
Because of the uncomplicated installation method that the Anker SOLIX balcony power plant offers, it is possible for homeowners to put up their solar energy system without the aid of a professional. In order to ensure a smooth and effective installation process, this article provides a comprehensive rundown of the essential procedures required to install the Anker SOLIX balcony power plant.
Easy Steps for Installing Anker Solix
A user-friendly approach that is intended for simplicity and efficiency, the installation of the Anker SOLIX balcony power plant is a straightforward procedure. Here are the primary actions that need to be taken.
Selecting the Installation Site
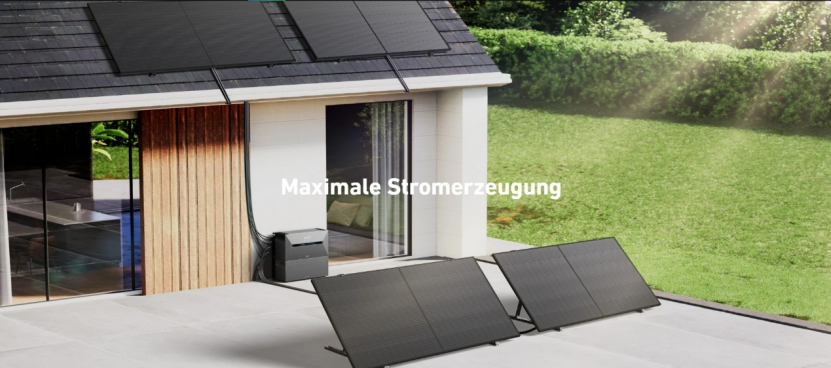
The selection of an appropriate site for your solar panels is of utmost importance in order to achieve maximum energy output. Make certain that the location is unobstructed by any barriers, such as trees or buildings, and that it gets enough sunshine throughout the day. It is widely considered to be the best location in the northern hemisphere to be facing south. If you choose your location carefully, you may provide the groundwork for an effective solar panel balcony installation.
Mounting the Solar Panels
Make sure the solar panels are secure by using the mounting brackets that are supplied. In order to facilitate the installation of these brackets on a variety of surfaces, including walls, roofs, and balconies, they have been developed. Check that the panels are positioned so that they can absorb the greatest amount of sunlight. To complete this stage, you will need to tighten the brackets and make sure that the panels are securely installed so that they are ready to collect solar energy’s energy.
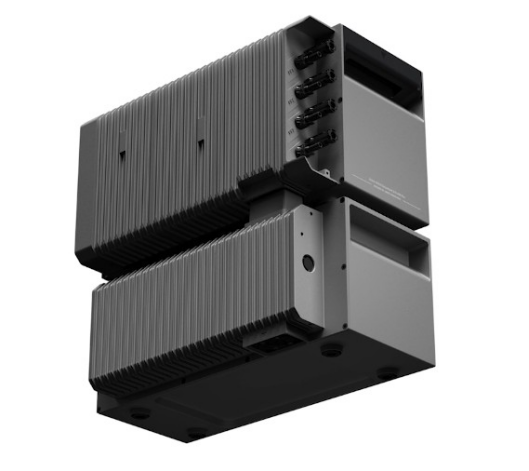
Connecting the Micro-Inverter
Set up the solar panels with the micro-inverter attached to them. With the help of the micro-inverter, the direct current (DC) that is produced by the panels is transformed into an alternating current (AC) that can be used in the home. Make sure the cables are firmly connected by following the manufacturer’s instructions. Installing this component is necessary in order to successfully incorporate solar energy into your house’s electrical system, hence ensuring compatibility and safety.
Plugging into the Grid
A plug-and-play design is included on the Anker SOLIX balcony power plant, which makes it simple to connect to the electrical grid in your house. Plugging the system into a regular Schuko socket is all that is required. Because this phase removes the need for complicated cabling or installation by a professional, it is straightforward for consumers to begin producing solar electricity in a rapid and effective manner.
Monitoring with the App
The Anker monitoring app may be downloaded and installed on your device to monitor the operation of your solar energy system. Real-time information on energy production, consumption, and savings is made available via the application. Additionally, it notifies you of any potential problems that may occur, which enables you to do maintenance at the appropriate moment. Utilizing the application guarantees that you will be able to enhance efficiency and optimize the use of solar energy.
Conclusion
The installation of the Anker SOLIX balcony power plant is a straightforward and effective procedure that includes choosing an ideal location, installing the solar panels, connecting the micro-inverter, connecting to the grid, and monitoring the system via the application. In order to ensure that households are able to simply set up their solar energy system and start reaping the advantages of renewable energy, these processes have been intended to be user-friendly. Because Anker places such a strong emphasis on straightforward installation and cutting-edge technology, the SOLIX balcony power plant is an outstanding option for environmentally responsible energy solutions.